B-25 Wing
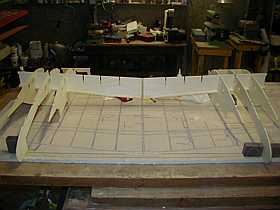
Due to paper stretch you must be careful when building the main wing spar.
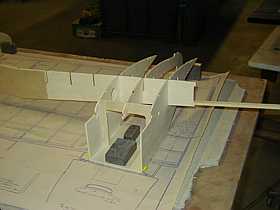
Nacelle alignment is also critical for proper engine thrust lines. It is easy however.
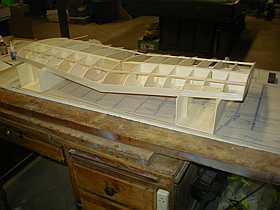
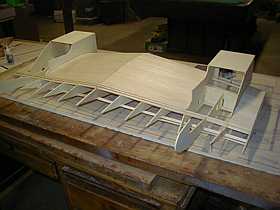
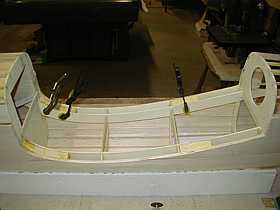
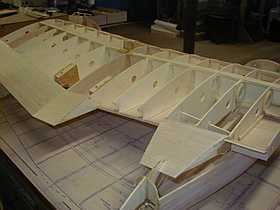
Center section builds easily.
W-5 and W-7 sub ribs glue to the nacelle sides for an area to glue sheeting to.
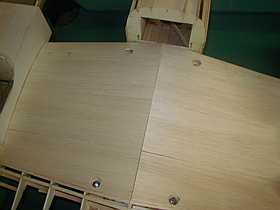
Lower center sheeting in place.
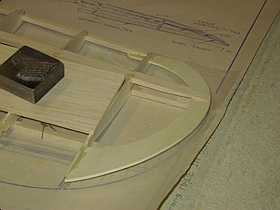
Wingtip angles up so that the top sheeting is smooth and level.
3/4 inch thick blocks must be cut out it a removable center section is desired... Mine is removable.
Wing blocks being epoxied into the the wing.
Wing mounting blocks being epoxied into the fuse.
4ea. 2 1/2 inch long bolts hold wing to fuse.
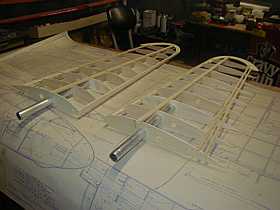
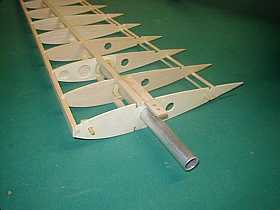
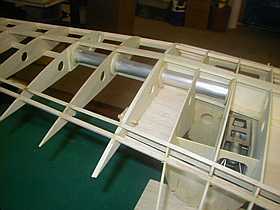
Outer wing panels are removable on mine as well. They utilize 1 inch aluminum tubing for strength.
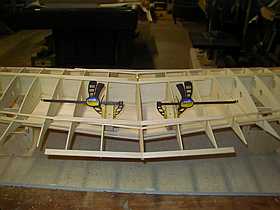
1/4 inch dowels align the outer panels to the center section. 1/4 ply tab allows outer panels to bolt on.
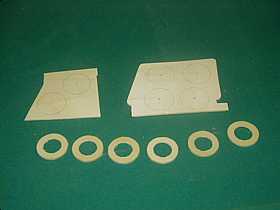
1 inch hole saw and jig saw was used to make 1/8th ply washers for wing panels.
Once tubing is in place and the wing perfectly jigged up the 1/8th ply washers are glued to the wing ribs for perfect alignment, and smooth assembly.
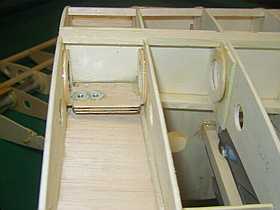
1/4 ply plate with blind nuts glued in allows the outer wing panels to bolt on.
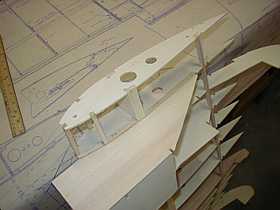
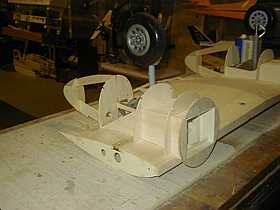
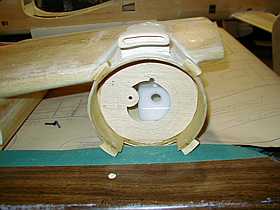
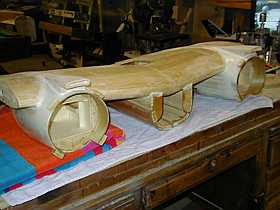
Nacelle formers in place. Ready to sheet nacelle.
This page was last updated on: March 30, 2014
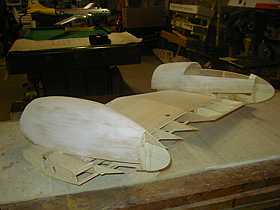
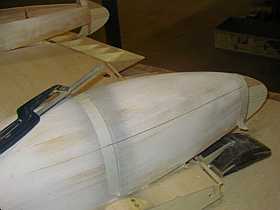
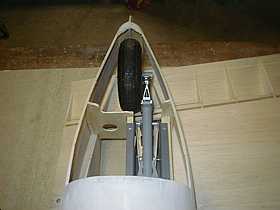
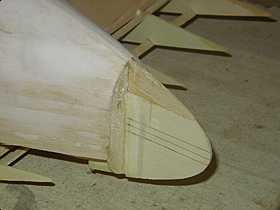
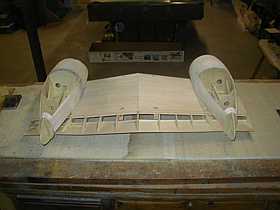
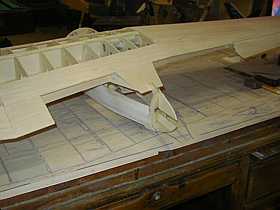
Only one nacelle was sheeted and gear door cut out at a time.so measurements could be taken from unsheeted side.
Once marked, the doors were cut out with a fine hacksaw blade.
Test fit of retract, very close to inside of nacelle as it passes the hinge line.
Nacelle tip marked where brass tubing will be installed for fueling. This makes use of scale vent tube locations.
General view of center section
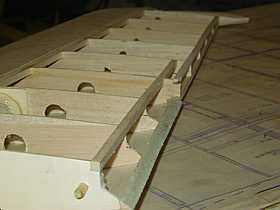
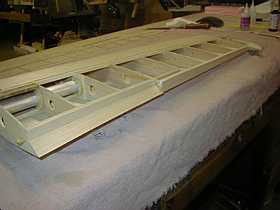
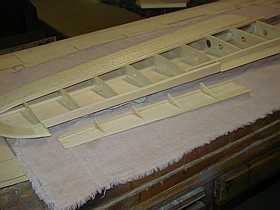
Aileron and Flap area cut out of outer wing panels
Aileron and Flap area capped with 1/16th balsa
Aileron about to be cut to size before end ribs, control horn mount, hinge blocks, and lower sheeting added.
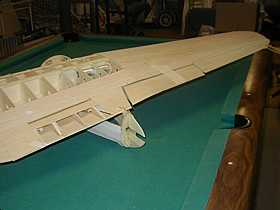
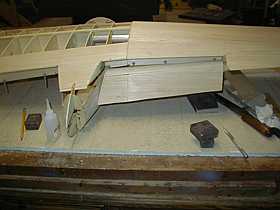
Partial cap of inboard flap area.
Right side ready for hinging.
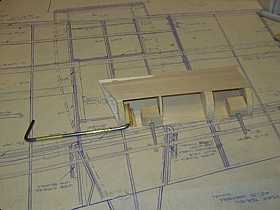
Right inboard flap with torque rod box. My torque rod will most likely no be epoxied into this box. Free floating may cause less binding.
Flaps taped into place for test fit.
Flap checked for operation and clearance.
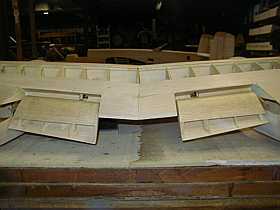
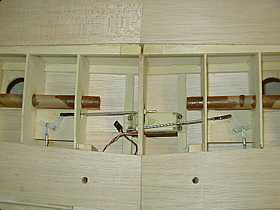
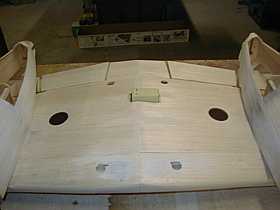
Inboard flaps hinged and linkage in place
Flap servo and bellcranks. For linkage to be in-line the servo must be lowered into wing.
Bottom of flap servo will extend into bomb bay area and will not show. Note speakers installed for gun sound.
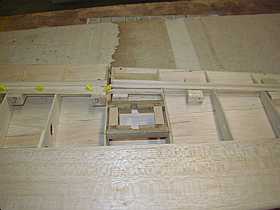
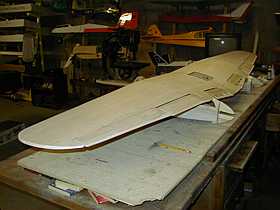
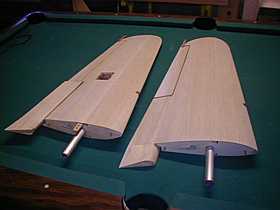
Aileron servo mount constructed and glued in before lower wing sheeting.
Outer wing panels in place so that LE and TE can be shaped with long sanding block.
Top and bottom view of outer panels that are ready for final sanding.
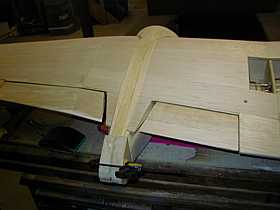
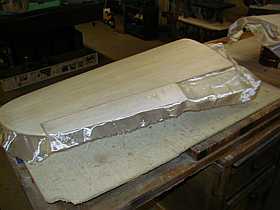
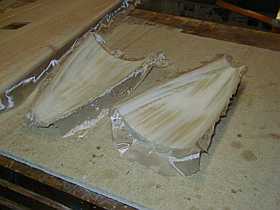
Nacelle tip blocks being glued on and will be shaped later.
Outer wing panels being fiberglassed.
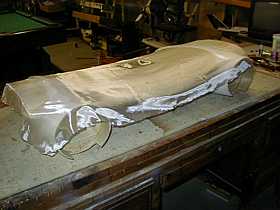
Main landing gear cutouts being glassed inside and out. They will be used for the gear doors so they must be double glassed for strength.
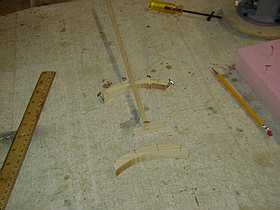
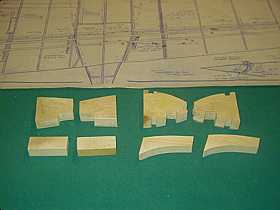
Cowl mounting blocks being cut the the proper curve and length to allow a 6-32 machine screw and blind nut for each cowl mount location.
Top of center section be glassed...finally!
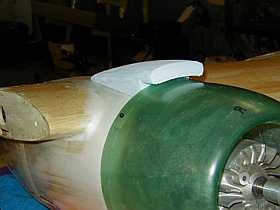
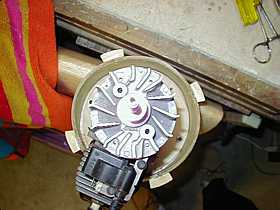
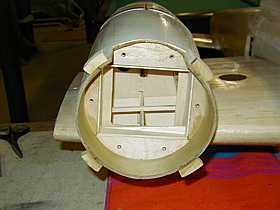
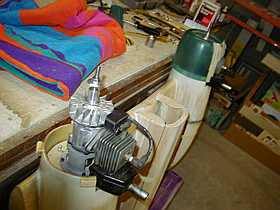
Mounts evenly spaced and epoxied on.
Another view of same.
With and without cowl in place.
Foam air scoop roughed out for size and shape. These will be made from balsa once the pattern is close.
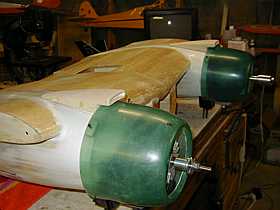
Dremel tool used to freehand route the air scoop opening. Fake balsa firewall used to see inside of nacelle for proper routing of push rods and lines.
Scoops epoxied on and getting a final sanding.
Yea... That's looking better.
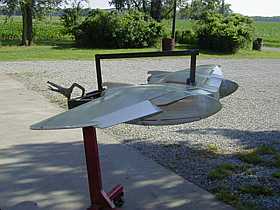
Center section bolted to stand and wing tips slid in. Ready for sanding and primer.
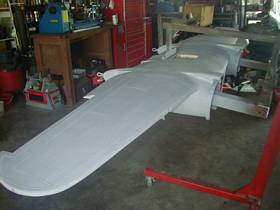
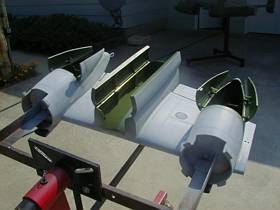
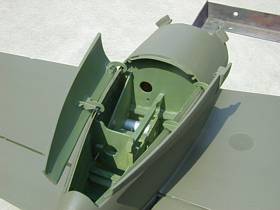
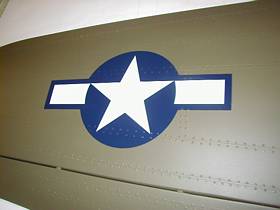
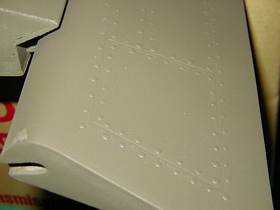
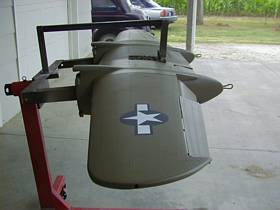
Primered several times then panel lines and rivets applied.
Interior of gear doors and bomb bay painted light green.
OD paint appled and drying.
Decals applied and rivets put on over the decals.
Outboard flap section.
Wing ready for flat clear top coat.