Great Planes
F-4 Phantom II
Front engine, tractor prop, r/c model
Project Started November 1st 2000
Click on pictures for a better view
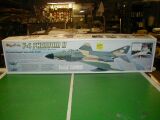
This is the box that the monster comes in. I weighed the box before starting on the kit. The kit weighs in at 14 pounds. After adding a .91 engine, 7 servos, batteries, covering, retracts, wheels, etc it is to come out in the 10 pound range. I need new math for this. : ) Robart retracts and an ASP .91 2 stroke are waiting for this project. It is a large plane, check the size of the person in the right top corner of the box.
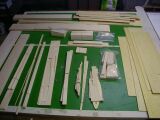
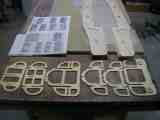
There are two piles of plywood diecut to punch out, this will help the weight problem a bit. Lots and lots of parts in this well cut kit. This ain't your mama's trainer plane kit.
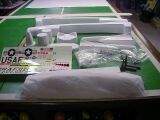
I will have to learn how to work ABS parts, there are a lot of these in the kit. Full hardware kit, engine mount, and decals included. The canopy is still wrapped in tissue.
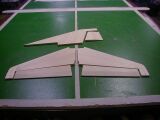
It takes 18 seperate pieces to make up the tail feathers. This just might be the simplest part of the building. I finally got to try out my electric hinge slotter on this very solid balsa wood...it worked great! The job can be done without it, but the slotter does work well.
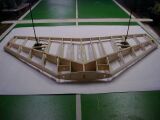
The main wing is framed up rather easily. You must decide on the use of retracts or the supplied fixed gear at this point. I opted for Robart mechanical retracts. Robarts were a must for me due to quality. The mechanicals, over air power, as they were a bit less expensive and no airpumps or leaks to worry about. Linkage must be laid out carefully for the mechanicals but it is on the plans and goes well..it does require 2 retract servos.
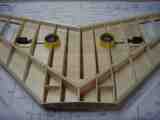
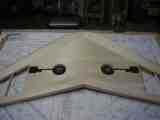
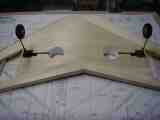
The bottom sheeting is on and the wheel wells for the retracts are glued in. Plastic "Dixie" cups made perfect 3 inch wheel wells.
A look at the main landing gear retracted.
Oh yes! They pop right up. I didn't heat and bend the axles as Robart suggests. Instead I used the Great Planes bolt on axles. 3/16 for the mains and 5/32 for the front. I used lock-tite on the axle set bolts.
The fuse side being built up and a view of some of the outstanding die cutting in this kit. Very high quality.
Interlocking the fuse formers. It is all jigged up and locked together before gluing anything.
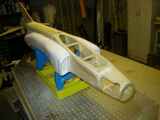
Side pods slid on so I could get an early peek of what is to come. I like it!
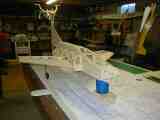
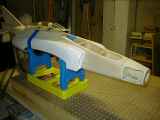
Top stringers and sheeting in place. This must be done over the plans to make certain the fuse is absolutely straight. It is just setting in the craddle drying.
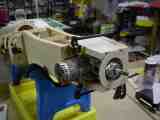
The front requires a bit of thinking ahead. Make sure throttle pushrod doesn't hit mount or retract, hollow out inside of cowl blocks to give everything clearance. Then glue and start whittling, soon you will have an engine cowl.
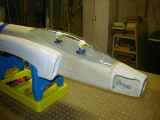
All the grinding and sanding paid off! I now have a nice fitting engine cowl that is built right onto the airframe. None of that plastic, screw on stuff here!
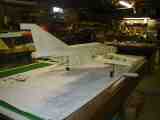
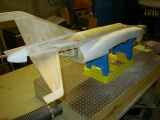
If this don't get your wheels a spinn'n then you are working on the wrong model. This tail shot shows just how long and sleek this beauty is. I skip around the instruction book a lot which may trap me on this complex kit but I sure have something neat to look at while building ailerons, wingtips, and the like.
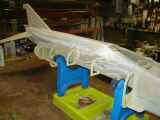
The gear tucked up and out of the way.
Here the canopy is shown removed. Two 1/6th balsa sheets were laminated together to conform to the hatch opening. Once dry it was covered with monocote, pilots were glued in place, and the canopy was glued to the removable floor.
The canopy is held in place via an 1/8th inch dowel in the front and a single screw coming up from the inside of the fuse to hold the rear of the canopy in place. Hopefully this will make for a smooth, nothing showing, mounting. Much of the clear on the canopy gets painted with the fuse later.
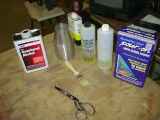
Here is a shot of the stuff you need to glass an airplane, short the 1/2 oz. glass cloth
Have the airframe as nice as you would for a film covering. !/2 oz. fiberglass cloth is only slightly over .001 thick. It will show all blemishes. Cut a piece of cloth ( with GOOD scissors ) and lay it out as smooth as possible.
Mix the epoxy resin and thin with de-natured alcohol until watery. Use a cheap, but soft, 1 inch brush and apply the resin over the cloth. Work from the center out. The weave of good glass cloth will allow it to move a tremendous amount. It is eeasy to cover compound curves.
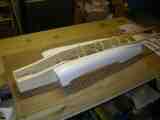
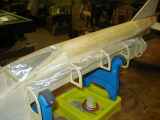
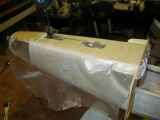
Here is picture of the glass going on over the nose section. A slit in the cloth allowed it to be dropped over the nose wheel. This cloth wrapped all around the nose section with no problem.
A look at this picture will show how all the little pices get covered. Leave plenty of overhang. When dry ( 24 hours ) just use a sanding block with 80 grit and sand the edges slightly. All the exccess comes off easily and the cloth blends in nicely.
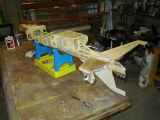
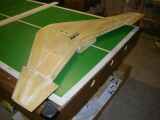
The wing is completely sheeted so that glass covering can be used. You can not glass over open structure. It is now glassed and ready for a light sanding. More on the base filler coats later.
Now that the glass is on, I glued the ABS parts on. I didn't want any covering under the ABS that might add additional weight.
I then used Auto body filler ( Bondo ) and Model Majic to fill and blend the ABS parts into the fuse for a smooth finshed look. I like this part... starting to look like an airplane!
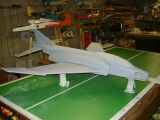
Sunday, March 11, 2001, and the F-4 has it's first coat of primer. This a laquer based primer / filler. ( Dupont 131S ). The primer really shows the flaws. A lot of small repairs will be made now. Most of this primer will be sanded off to save weight. The only primer left on the airframe should be there to fill scratchs and pits, etc.
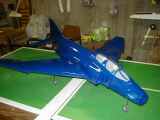
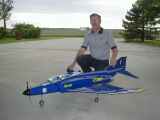
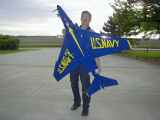
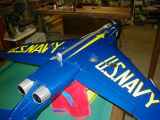
Paint at last! The F-4 has now been sprayed with automotive acrylic enamel utilizing an automotive type paint gun. A chemical hardener was used to "set" the paint as hard as possible. As with any gloss paint..the screw-ups show. All in all, it will make a nice Sunday plane. The Blue Angel graphics are on the way and then it will need a bit of trim paint work to match. I have opted for an 11-8 3 blade prop and spinner for first run on the ASP .91. I don't have enough ground clearance for a 2 blade prop.
I need to take a moment to thank the people at the Combat Air Museum, Topeka Kansas, for their help in determining the color that was needed on the Blue Angel F-4. They confirmed that it was FS15050 Blue Angel Blue. It's great to have nice, interested, people to help with a project like this.
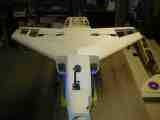
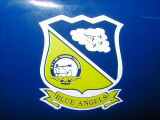
Balanced with a 1300 mah pack it weighs in at 12.5 pounds. A flight report will be soon I hope. The center photo is of the actual graphic that is applied to the nose of this F-4 model. The exhaust system had not been built yet when the above 3 photos were taken.
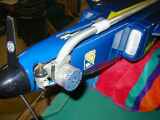
An OS .61 header pipe is slightly reworked to fit the ASP .91. It looks much sleeker than the orginal expasion chamber muffler supplied with the motor.
3/4 inch aluminum tubing is attached to the rear of the header pipe. It exits at the rear of the wing. A perry pump is to be installed next as I have no muffler pressure to the fuel tank. None of this has been tested yet as of May 25 2001.
The F4 Phantom was flown by the U.S Navy Blue Angels from 1969 to 1973.
The F4G " Wild Weasel" was still in active service during the first Gulf war in the early 90's. At the end of that war they were transferred to the Air National Guard but their duty was still not complete. They were deployed to Saudi Arabia for operation Southern Watch until finally replaced by the newer, lighter, F-16 in 1996.
Some of the remaining airframes were refitted as target drones and bomb range targets, a thought that I would rather not dwell on. Certanly not fitting of a great warrior.
Thanks to F-4 Technical Advisor, Tom Wales
